Quickstart
pendlooq runs as a small server on your computer and opens in your browser. Install it with npm, run pendlooq start, and the onboarding takes three steps: a name for the assistant, a model key, and a few sentences about your work.
Updated
What you need
- Windows, macOS or Linux with Node.js 22 or newer.
- An API key from Anthropic, OpenAI or OpenRouter. You can skip it during onboarding and add it later.
- A modern browser. The app runs at http://127.0.0.1 on your machine.
Install and start
First releaseFirst release: the npm package is not published yet. The command below is how pendlooq installs once the first public release is out.
$ npm install -g pendlooq
$ pendlooq start
pendlooq start launches the local server on 127.0.0.1 and opens the app in your browser with a fresh session link. The server and the runner that executes tasks run on your machine; nothing is sent to pendlooq servers.
Commands
- pendlooq start
- Start the server and open the app.
- pendlooq open
- Open the app of a running server in the browser.
- pendlooq status
- Show whether the server is running and on which port.
- pendlooq stop
- Stop the server.
Flags: --port N to pick the port, --no-open to skip opening the browser, --data-dir PATH to use another data folder.
First run: three steps
- 1.
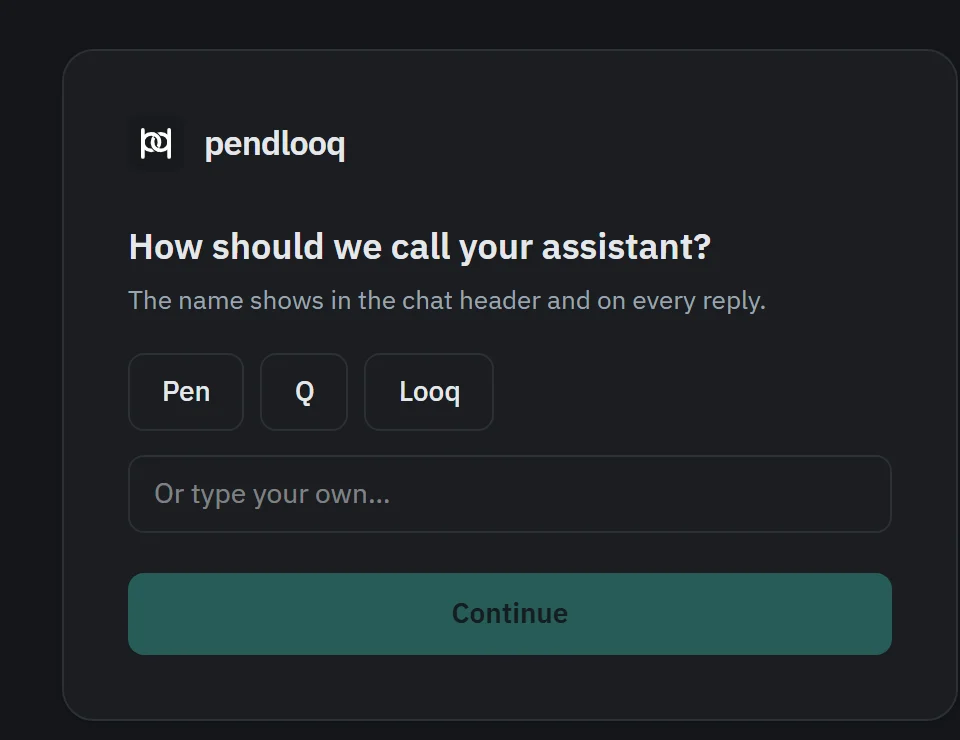
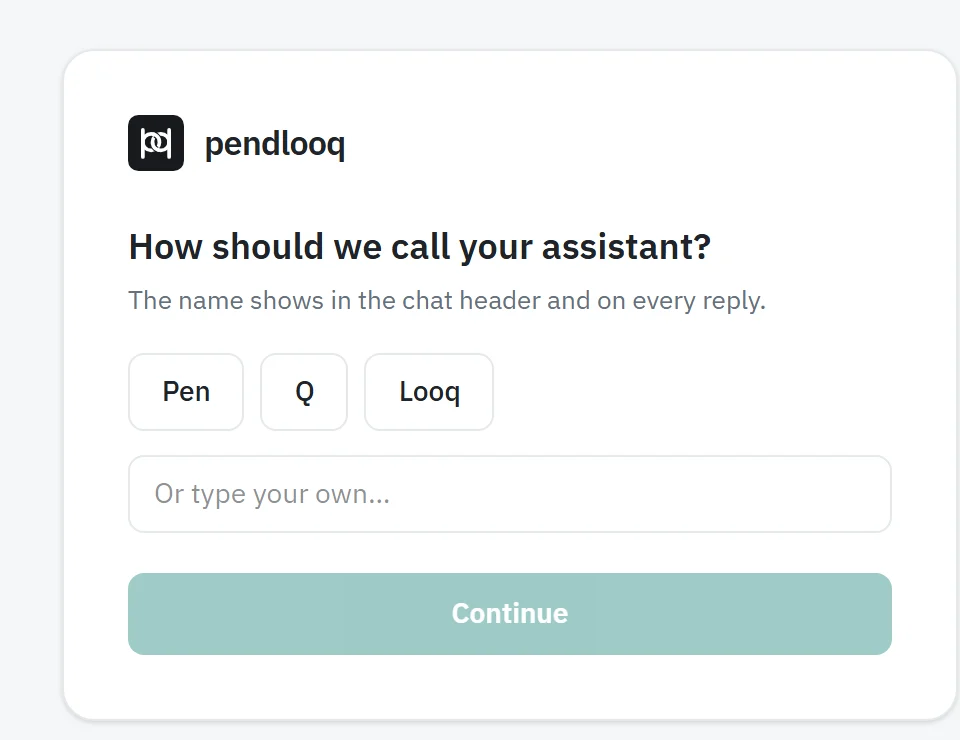
Name your assistant
Pick Pen, Q or Looq, or type your own. The name shows in the chat header and on every reply.
- 2.
Connect a model
Paste an API key for Anthropic, OpenAI or OpenRouter. It goes to the OS keychain. You can skip this step and add a key later in Settings → Models.
- 3.
Tell it about your work
A few sentences: who you are and which lines of work you run in parallel. The assistant proposes a stream for each, with a description and suggested skills; uncheck what you do not need and create the rest in one click. You can skip this too and create streams later.
Where your data lives
- Tasks, messages, streams and settings live in ~/.pendlooq (on Windows, %USERPROFILE%\.pendlooq), in a SQLite database.
- Model keys and credential values are stored in your operating system’s keychain, not in that folder.
- Each stream has its own settings.json (permissions, in Claude’s format) and AGENTS.md (notes) in the data folder. A project folder’s own Claude Code, Codex or OpenClaw setup applies on top of them when the agent works in that folder.
Your first task
- 1.Write what needs doing in the general chat, as you would to a colleague. The router turns it into a task in a stream and shows a chip under your message.
- 2.Open the task thread to answer the assistant’s questions. Statuses tell you whose turn it is: Needs me means yours.
- 3.Give a stream folders in Settings → Streams so the assistant can work with files. Commands ask for permission by default.
- 4.Use Alt+1, Alt+2 and Alt+3 to switch between Chat, Board and Feed, and Ctrl+K to find anything.
Look around without a key
From a checkout of the open repository, pnpm build and then pnpm demo start the app on a scripted mock model with sample streams and tasks, in a temporary folder. The replies are canned; the interface is the real one. The repository opens with the first public release.